Tuesday, April 25, 2017

NO DRIPS, NO RUNS, NO ERRORS or CHAIRS, BLOCKS & LADDERS

Hey it's another season of baseball... thought the "title" would fit, and may be the Indians will win the World Series this year.

First, A WARNING!!!!! DON"T BUY DuPont Chroma System Paints  or new company Axalta paint!!!!!!! Long story short, if you breath on it IT CHIPS!!!!!!!!!

Long story, I have used PPG paints my entire life for car painting. Never had a problem other than what I did wrong. as I learned to paint a car. The usual runs, drips, sags, orange peel and over spray. In this case the PPG paints I would have used and SHOULD have used would have cost about $3,500.! I should have bit the bullet and paid the price. Being new to the area, I found out later that the local dealer was adding a very large premium to his prices. I should have looked and shopped around. A dealer 20 miles away would have been cheaper. The only other local paint dealer being a DuPont dealer had the paints  for $1,750.00. I went cheap after his assurances that the paint was every bit as good as the PPG. In mixing, blending and spraying, etc. it worked like the PPG paints. It was only during reassembly that it became apparent that the paint has NO DURABILITY, CHIP RESISTANCE or even bump resistance. Wherever the trunk, doors, trim and etc. touched, bumped or were drawn up by bolts there are chips. I taped all edges, joints, seams etc during fitting and reassembly. When I removed the tape there were chips! As the car sits now, it nearly needs repainted and has not even been on the road!!!!!!!!!!! The only thing I can say good about the paint is that the color is fantastic. But that is probably due to my color choice; Dodge Viper Brilliant Blue Pearl and Cadillac Diamond White Pearl.

ENOUGH of my rant!

I can't even begin to teach you how to paint a car.  So.... It took me all summer to prepare the body for painting. I did just like the TV shows: filling, smoothing, straightening sanding, priming and SWEATING: ALOT, to the tune that I lost better than twenty (20) pounds! Not that it hurt me! I did learn one thing. This car has large body panels without stamped body lines or accent lines. All it has is a slight curve or radius. No matter how hard (or soft) I tried, the panels would flex slightly, so could never sand to get a flat, straight surface regardless of how much filler was applied or sanded. I basically gave up.

How do I paint everything in a home garage, and to boot, do it in two (2) tone?

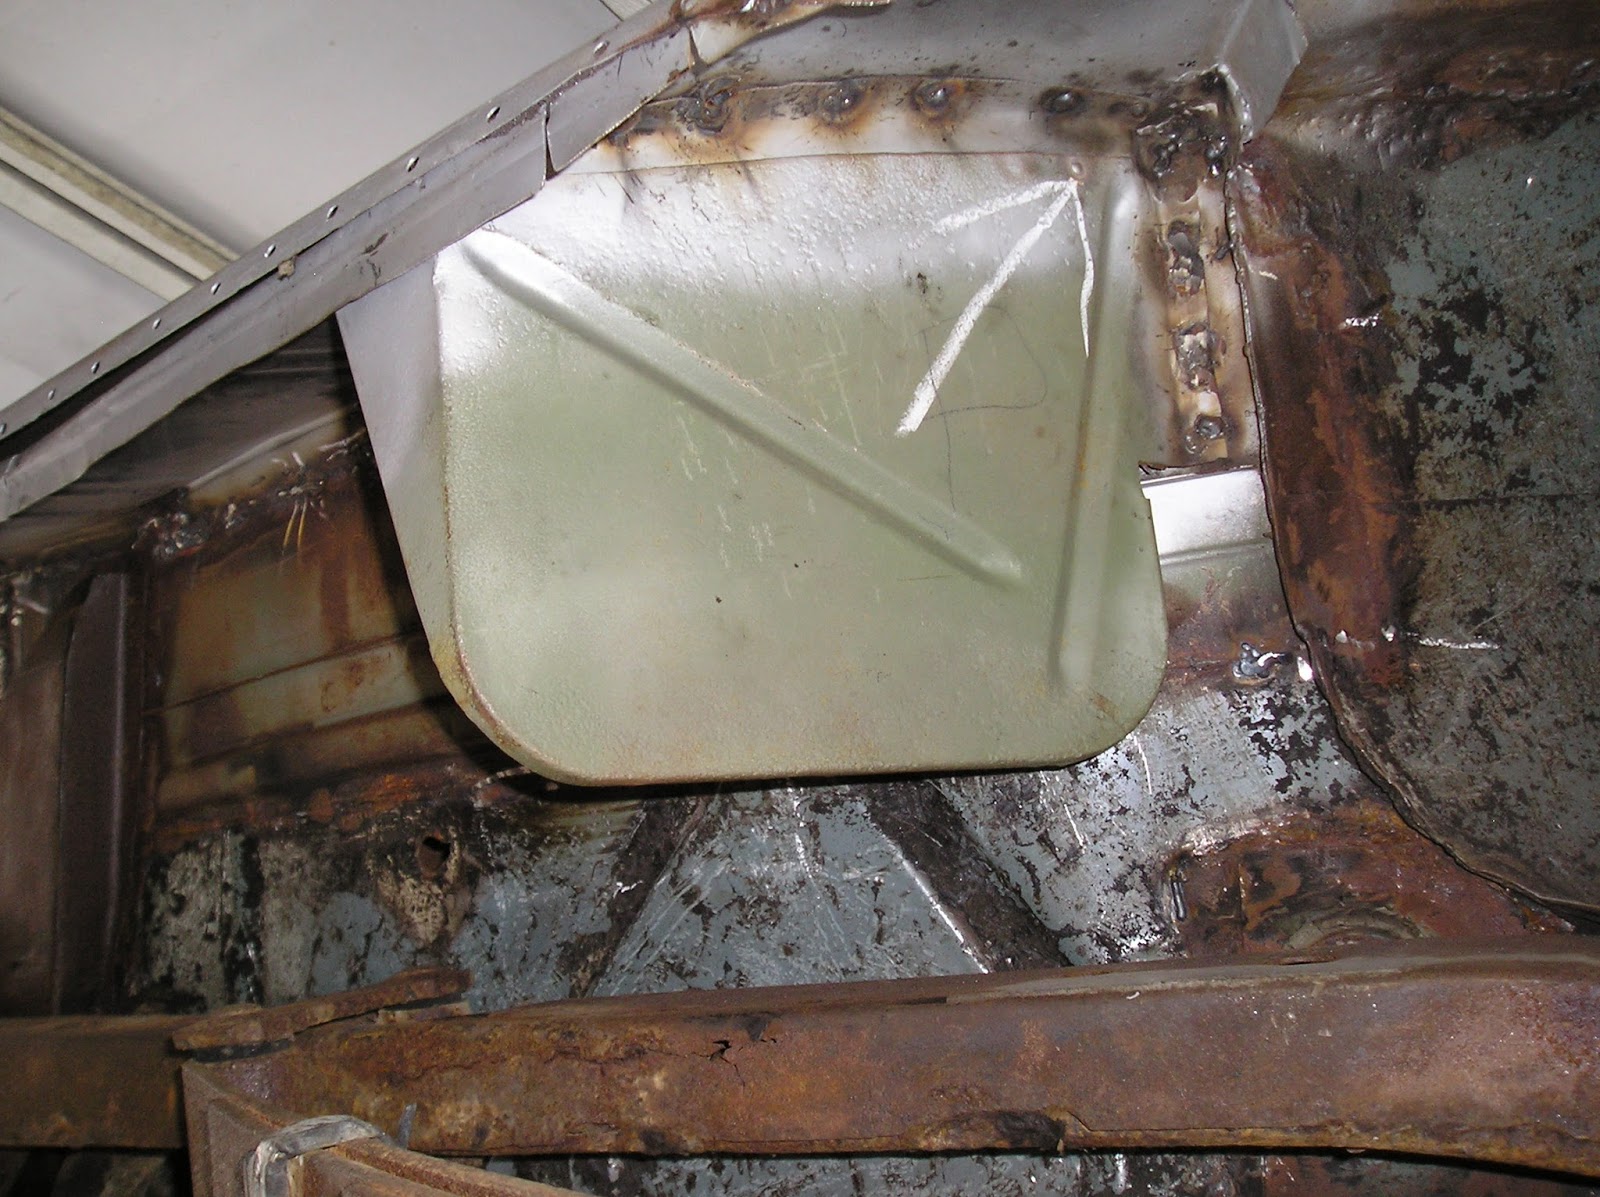
What we discovered during the disassembly was that some of the small sections of the car had "layers" of sheet metal that were held in place by clips, screws and body trim. That was how the factory did the two tone paint schemes. The small pieces were painted the alternate color and assembled in place. I can only guess how the factory did the large sections, but here's how I did it.

I had to cover and mask the car body below the roof line then paint the roof three (3) times. Base coat, pearl coat and clear coat. I had never painted a roof before and the car stands roughly five (5) feet tall. How the heck do I reach up that high without dragging my arm, spray gun, and the air hose on the roof or not touch the roof? I don't! I used several step ladders, 2" x 10"s and laid a "platform" around the perimeter of the body and "walked the plank." It worked reasonably well. Just be careful of the footing, openings and especially hose position. Sorry no pics of that.

Then how do I two tone the main body? Tons of tape, newspaper, old tarps and plastic drop clothes.  I followed the body trim line holes for masking. I figured the body trim pieces would basically split the line of the holes so I half masked them and had nice straight lines to follow. Apply the paint, base, pearl and clear coat. Let thoroughly dry, remove masking, and re-mask everything in reverse, for the other color.


 Prepped for white pearl. The top is done and covered.

Body prepped for white.


Body sections in blue.


The body in blue partially done. Quarter panels are in primer at this point.


Okay, that took care of the body, now what about the hood, fenders, inner fenders, trunk lid, doors nose piece and the other bits and pieces? Not having a spray booth and all the attendant holders, carts etc. What to do? One articulating ladder for door holder, some hand made hangers over the rungs, two (2) large tables for doors and parts, peg board garage wall with tarp for the hood, patio lawn chairs with concrete blocks to balance and raise fenders and overhead garage door tracks with heavy wire bent to support inner fenders and other pieces.

 The hood hung on the wall. It is said that pearls and metallic paints come out better if painted vertically. Less likely to tiger strip if you see it better.
 Doors on tables for back side and edge painting.
Radiator and fender inner supports.
Inner fender/ wheels, doors on tables in background.
 Fenders prepped for blue, white area masked out,
Back side of fenders. Note the patio chairs, masked and on concrete blocks. Back side of fenders are masked. There are also blocks on the chair seat to balance the weight of the fender.

 Fender in blue.

 Fender re-masked for the white arrow.

Doors "hung" on the ladder.

 Door done in blue with stripe still  masked over.
 Door re-masked for white stripe.
 Door is complete. Note the trim holes that were used to "draw" the paint lines.

 Body rolled out of the "paint booth." Arial view.
 Side view of the body.


Wednesday, April 19, 2017

JACKED UP!


After the body was sandblasted, epoxy primed and truck bed liner were sprayed I tackled the frame as previously described in FRAMED.  It may seem like a simple operation to switch the old frame with the modified one but it wasn't.

I had to figure out how to lift the body off the frame, roll out the old chassis, roll the "new chassis" in, and then lower the body back down and hit the body mount holes and studs. I could not use my rotisserie as I had made no provisions to make a body only connection to the rotisserie. Remember the pictures? I used the frame for all the lifting.

After more looking and measuring I decided to make some 4" X 4 ''s with 2"x 4" I had laying around. I planned on laying them on concrete blocks crosswise under the body. The "stacks" had to be outside the width of the body to clear the tires. It very quickly became obvious that would not work as the 4" x 4" lift points would crush the fenders and rockers.

I had to make some small 4"x 4" blocks and lay them on the crosswise 4" x 4"s and against the flat side of the body panels so they were in contact with the flat floor and as close as possible to reinforcing mounts or body mount connections.. Then, I had to make one short 4"x 4" to lay crosswise on the floor jack and fit between the frame rails and span the transmission tunnel gap. As usual, it was lift the front, then back, lay in concrete block and the 4" x 4"s back to front back and forth!

 As can be seen in the pictures I used 16 concrete blocks, four to each stack. It looked like everything was going well until my first attempt at rolling the chassis out! The trunk has a large well in the floor for the spare tire to sit in, in a near vertical position. The right rear wheel hit the spare well and obviously when the front wheel got there it would too!! More lifting and jacking! By now I was out of suitable 4"x 4" blocks so I scrounged our kindling piles and found 2" x 4"s and stacked 4 pieces at each point. A little wobbly.... but they worked. Out came the old chassis and in went the new!

Then work everything in reverse... lifting and jacking.  Before lowering the body I put new rubber body mount/ isolation "donuts" on the frame mounts. Surprise surprise! I got the "new chassis" within a fraction of an inch and was able align everything up with a little levering.

All jacked up!

INCOMING!!!!


Monday, April 3, 2017

SCARED TOWING!


Coming off the rotisserie we were finally ready to have the body sand blasted. We rolled the car out, still on the old frame, and hooked it up. Not sure how it would tow and track so we towed the car around the neighborhood. Everything went okay. So off we went to the sandblasters, about ten miles away.
Everything went well.

Two (2) days later it was ready to come home, so off we went again. The weather reports for the day were threatening rain late in the afternoon. My son and I got within a couple of miles from home and everything kind of went south!

We came up to a traffic light and made a right turn and the tow bar snapped and bent at a right angle!! BAD NEWS! Fortunately, I guess, there was a business drive with a lot of room, an unpaved drive and grass just ahead. I pulled over and parked. I ran inside and got got permission to "disconnect" and leave the car while we raced home to bend and weld the tow bar back into shape.

Once home there was no torch so we had to beat the bent section back into shape and use the sheet metal welding wire to effect a repair. It was the only wire I had left! I laid a number of welds one over the other. It look like CRAP! What else could I do? 

Off we went back to hook up and retrieve the car. We got all hooked  up proceeded very slowly. For the first mile it was a straight line with one stop sign. We were crawling with the four way flashers on. Traffic was light. Then we got to the main road, a three lane medium to heavy traffic road and a right turn required to continue! Yeah, it did it again! SNAP!!!

There are business along there, so again we maneuvered in. I knew we could not fix the draw bar with the weather threatening, so I convinced my son to sit in the open body and steer the car to follow the truck. I showed him and had him try the steering to understand it would take some real effort to turn it. I assured him we would be safe going slow and if the bar failed the worst that could happen would be the car slowly bumping into the back of the truck! 

He had to sit on the floor, peering out over the windshield frame and muscling the steering wheel to keep the car in line with the truck!!! I drove with one eye on the rear view mirrors and the other on the road, headlights and flashers on! Roughly half a mile up the road was a traffic light with a left turn lane with an incline, a less busy two lane road and mile from our house. The car tracked reasonably straight to the left and he was able to complete the turn. We managed to get the car home with a final left turn onto our street then a straight line to our house. My son was scared, but he did it!

As we were unhooking the car and preparing to roll it into the garage it started to sprinkle. We grabbed a camera and shot a picture or two and shoved it in .

Later we did an inspection, cleaning and vacuuming the sand and found one (1) small hole in the body that opened during the sand blasting. I spent several days cleaning and epoxy priming the body. As well as repairing and patching the hole, Later, I sprayed the under side, passenger compartment floor and trunk with truck bed liner. Had to buy a special gun and outside air temps effected the spraying. Instructions, in fine print, three pages in said 70 degrees or less!!!   Got the idea from a TV show. Later still, I the did the front inner wheel well liners and interior of the front fenders.

It never did rain that afternoon or evening.

Prepping to leave for the sandblast shop everything all hooked up.
                                                                                                                                              

Different angle of the car and tow bar.                                                                                                                                                                                                                                                                                                                                                                                                                                                                                                                                                                                                                                                                                                                                                                                                                                                                                                                                                                                                                                                                                                

We made it! The car as it came home from the
sandblasters.
                                                                                  
                                                                                  A different view of the car as it came home.                                                                                Look carefully at the draw bar.                 


The draw bar after after it was removed. We were done towing so it was cut up for scrap.


                                                                A close up of the failed weld.                        

Saturday, April 1, 2017

FLIPPIN" & FLOPPIN"


As I wrote earlier the assembled rotisserie's overall length when bolted to the chassis would leave the back of the rotisserie outside the garage wall. I had to add a 2 x 4 to the rear frame cross member to get the rotisserie lift to clear the trunk body flange..Once the car was in, and bolted to the lift arms, I nailed up an old boat tarp across the door opening to keep everything dry. 

I lifted the car using the floor jacks and winches moving from end to end to balance everything and keep the column lift sleeves from binding. They never did bind, but this was all new to me. The winches were strong enough to lift the car and hold it in position, but safety said use both. Once the body was in the air the main column was through bolted at both ends to assure it did not drop. I had made column base to column base floor connectors to keep everything aligned. I had not drilled them to secure them for proper length. That was a mistake. The columns kept trying to kick out at the base as I rotated the car. I had to use the 8 lb sledge hammer to keep them "adjusted" to proper length. As mentioned earlier, the vertical columns wanted to rock left and right; forward and back, due to the slip fit "slop" in the connector sleeves. The sleeve tolerance movement was about 1/16th inch but it compounded in height and width. I was always a little wary! 

As can be seen in the pictures, I did not quite get the lift arms bolted to the chassis for a clean rotation and full 90 degree rotation. Rather than play around I just worked as is. I also failed to get a proper height set up which limited the rotation with reference to the floor and the overhead garage doors. Again, it was positioned well enough to work, although it meant crawling and kneeling on the floor while repairing the inner wheel wells. 

The rotisserie allowed me to better access the underside floor for welding and grinding. It provided access to the back, flat side of the rocker panels and, with the rear wheels removed, full access to the inner wheel well flanges and skin. As the picture shows, I had to piece meal the curved arch of the inner wheel well skin. It also required very careful cutting with the cut off wheel to avoid cutting the outer fender skin. I also missed another hidden repair on the body mounts just in front of the rear wheel frame arch until the body was sand blasted, I am still a little puzzled by that one.

There is a hand machine tool set called a shrinker/stretcher which would have allowed me to do a one or two piece replacement but at the time they were VERY expensive. You can buy them now at HF very reasonably.                                                                                                                                                                                                                                Roughly one and half (1 1/2) tons up 3 feet.


Flipped better than 45 degrees.
                                                                                                                                                      
                                                                                Passenger side inner wheel well and flange with                                                                                       pieces welded into position. Note how close to the                             floor the body is.