As I wrote earlier the assembled rotisserie's overall length when bolted to the chassis would leave the back of the rotisserie outside the garage wall. I had to add a 2 x 4 to the rear frame cross member to get the rotisserie lift to clear the trunk body flange..Once the car was in, and bolted to the lift arms, I nailed up an old boat tarp across the door opening to keep everything dry.
I lifted the car using the floor jacks and winches moving from end to end to balance everything and keep the column lift sleeves from binding. They never did bind, but this was all new to me. The winches were strong enough to lift the car and hold it in position, but safety said use both. Once the body was in the air the main column was through bolted at both ends to assure it did not drop. I had made column base to column base floor connectors to keep everything aligned. I had not drilled them to secure them for proper length. That was a mistake. The columns kept trying to kick out at the base as I rotated the car. I had to use the 8 lb sledge hammer to keep them "adjusted" to proper length. As mentioned earlier, the vertical columns wanted to rock left and right; forward and back, due to the slip fit "slop" in the connector sleeves. The sleeve tolerance movement was about 1/16th inch but it compounded in height and width. I was always a little wary!
As can be seen in the pictures, I did not quite get the lift arms bolted to the chassis for a clean rotation and full 90 degree rotation. Rather than play around I just worked as is. I also failed to get a proper height set up which limited the rotation with reference to the floor and the overhead garage doors. Again, it was positioned well enough to work, although it meant crawling and kneeling on the floor while repairing the inner wheel wells.
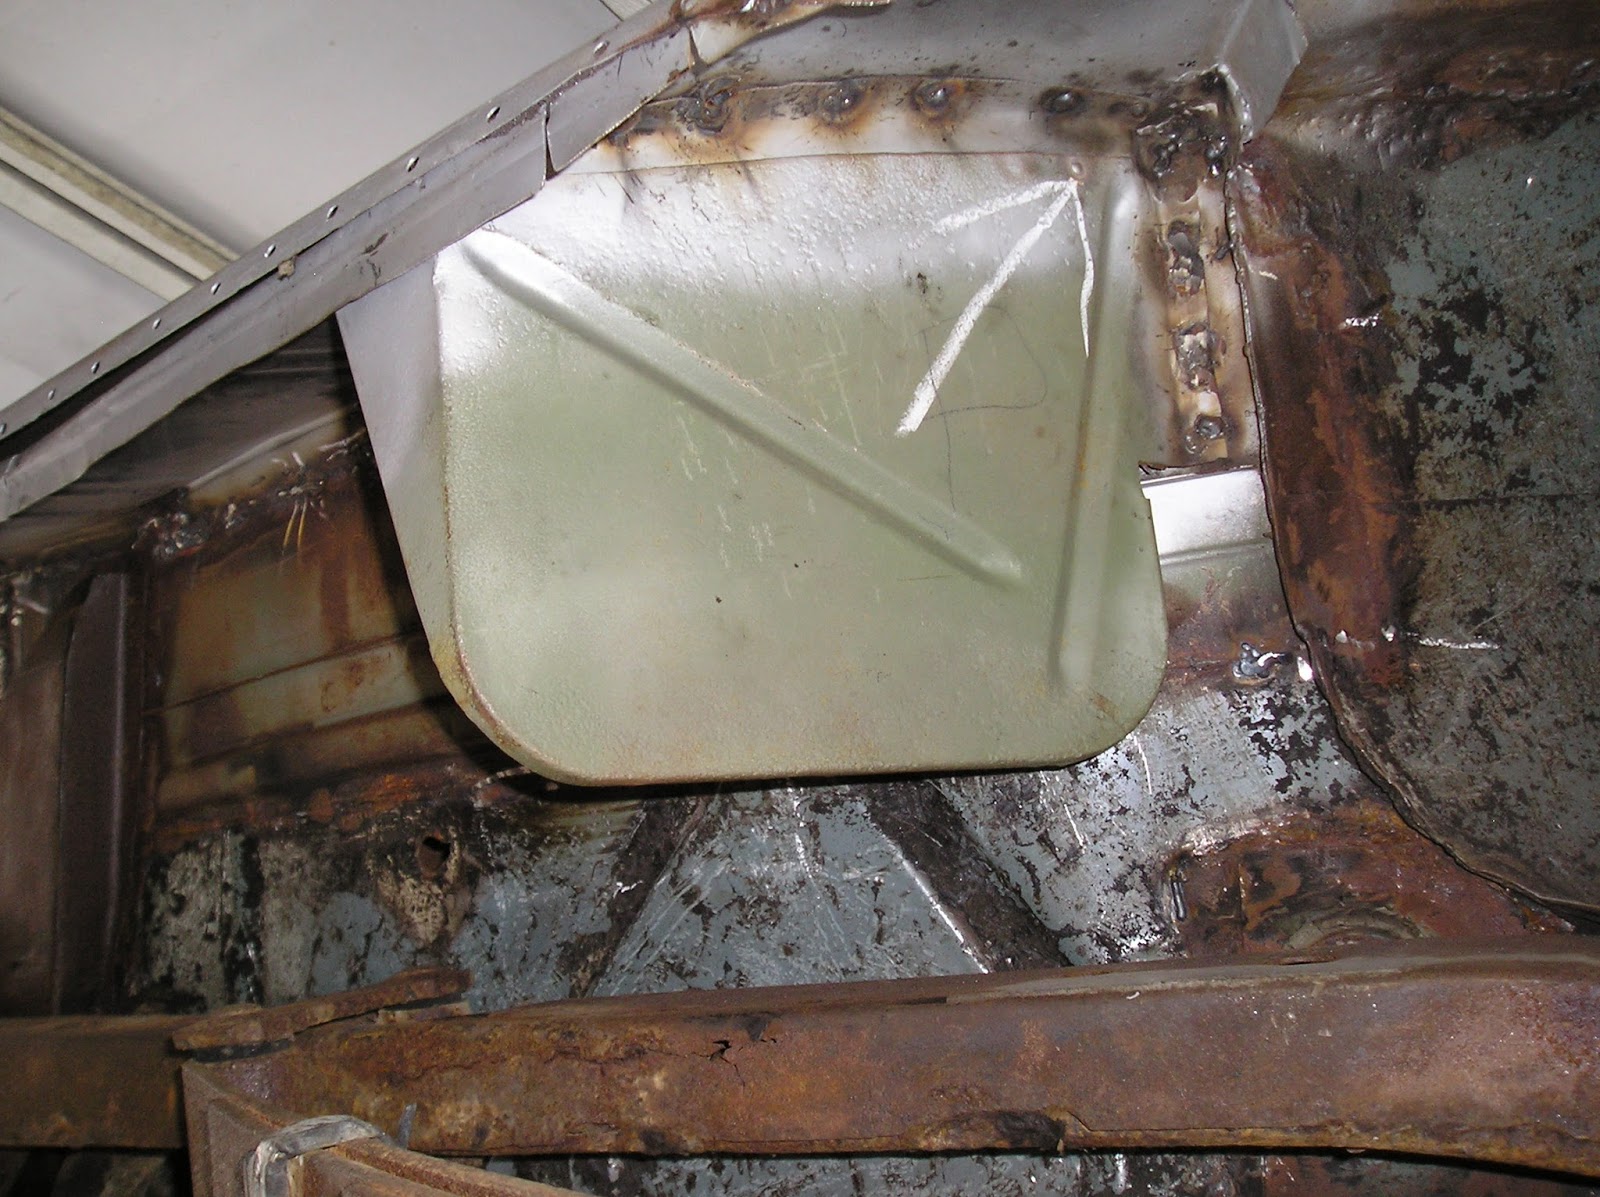
The rotisserie allowed me to better access the underside floor for welding and grinding. It provided access to the back, flat side of the rocker panels and, with the rear wheels removed, full access to the inner wheel well flanges and skin. As the picture shows, I had to piece meal the curved arch of the inner wheel well skin. It also required very careful cutting with the cut off wheel to avoid cutting the outer fender skin. I also missed another hidden repair on the body mounts just in front of the rear wheel frame arch until the body was sand blasted, I am still a little puzzled by that one.
There is a hand machine tool set called a shrinker/stretcher which would have allowed me to do a one or two piece replacement but at the time they were VERY expensive. You can buy them now at HF very reasonably. Roughly one and half (1 1/2) tons up 3 feet.


Flipped better than 45 degrees.
Passenger side inner wheel well and flange with pieces welded into position. Note how close to the floor the body is.
 |
No comments:
Post a Comment